

19 May
How to Make Cutlery Drawer Dividers
How to Make Cutlery Drawer DividersAre y...
How to Make Cutlery Drawer Dividers
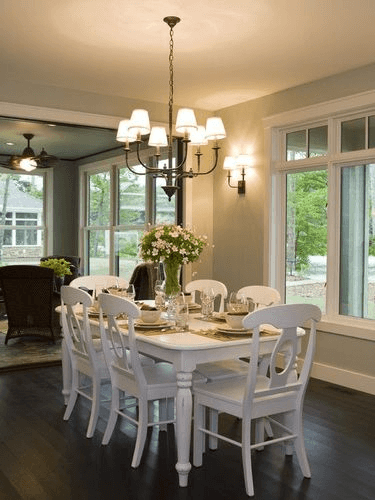
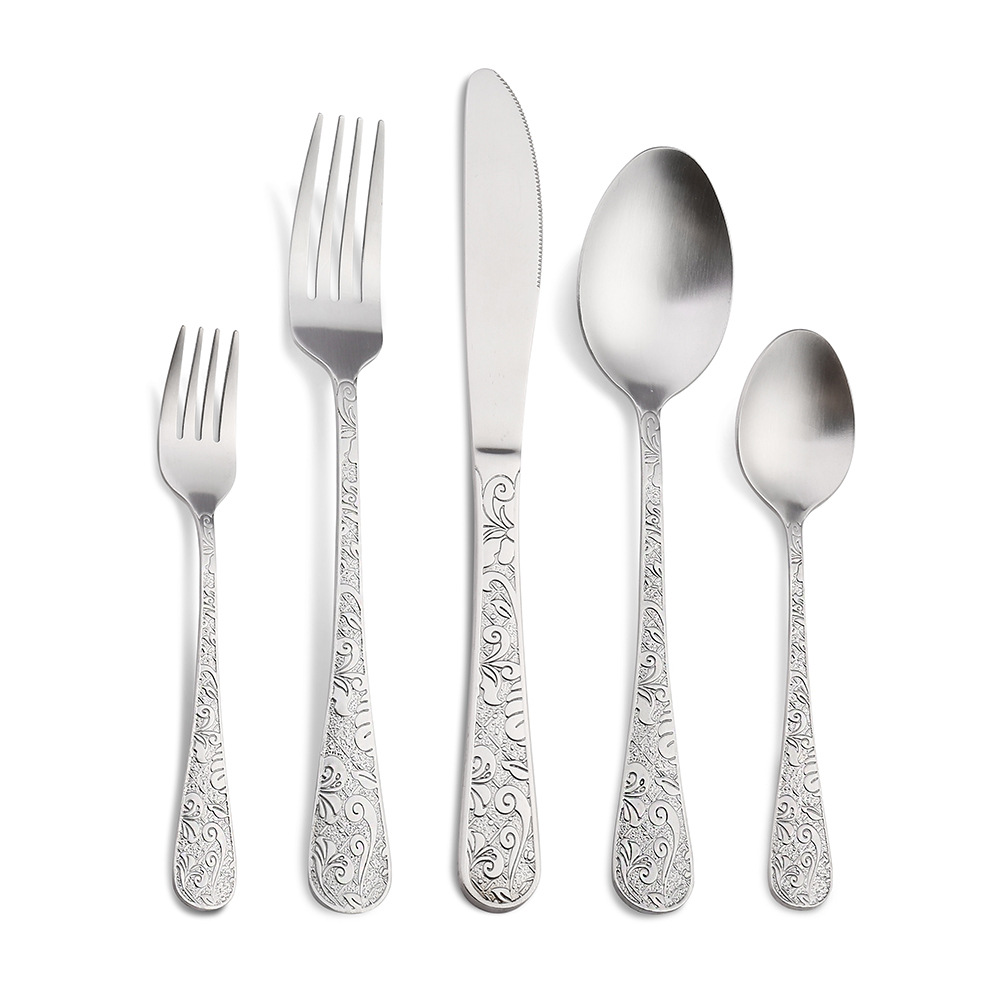
Are you tired of rummaging through your cutlery drawer looking for the right utensil? Organizing your cutlery drawer can transform your kitchen experience, making it easier to find what you need, when you need it. In this guide, we'll show you how to make custom cutlery drawer dividers that fit your needs perfectly. We'll also highlight some popular products like the expandable cutlery drawer organizer, Rev a Shelf cutlery drawer, tiered cutlery drawer, and options from Homefelt to give you the best of both DIY and ready-made solutions.
Materials You’ll Need
1. Measuring Tape: To get accurate dimensions of your drawer.
2. Plywood or Acrylic Sheets: These will be cut to form the dividers.
3. Saw: A jigsaw or hand saw will work fine.
4. Sandpaper: For smoothing the edges.
5. Wood Glue or Acrylic Adhesive: To secure the dividers in place.
6. Ruler and Pencil: For marking measurements.
Step-by-Step Guide
Step 1: Measure Your Drawer
Start by measuring the inside of your drawer. Note the length, width, and depth. This will help you determine the size of your dividers. An expandable cutlery drawer organizer can be a useful reference here, as it provides adjustable compartments that you can customize to fit various sizes.
Step 2: Plan Your Layout
Decide how you want to organize your cutlery. Consider dividing sections for forks, knives, spoons, and other utensils. You can look at a ready-made for inspiration, which offers an efficient and sleek design layout.
Step 3: Cut the Dividers
Using your measurements, mark the plywood or acrylic sheets and cut them into strips. Ensure the strips fit snugly within the drawer. Sand down the edges to avoid any splinters or sharp edges.
Step 4: Assemble the Dividers
Place the cut pieces into the drawer to ensure they fit correctly. Adjust as necessary. Use wood glue or acrylic adhesive to secure the dividers in place. Allow the glue to dry completely before placing any cutlery in the drawer.
Step 5: Customize (Optional)
For a more professional look, consider painting or staining the dividers to match your drawer’s interior. You might also want to label each section for easy identification.
Benefits of Using Drawer Dividers
Creating your own drawer dividers not only helps in organizing your kitchen but also adds a personal touch to your space. However, if DIY isn't your style, there are excellent pre-made options available:
· Expandable Cutlery Drawer Organizer: These are adjustable and can fit different drawer sizes, providing a flexible solution.
· Tiered Cutlery Drawer: For those with a lot of utensils, a tiered organizer can maximize space and keep everything visible.
· Homefelt: Offers a variety of stylish and practical cutlery organizers that can fit any kitchen decor.
Conclusion
Whether you choose to make your own cutlery drawer dividers or purchase a ready-made solution like the ones from Homefelt, the goal is to create a more organized and efficient kitchen space. By following this guide, you’ll have a customized drawer that meets your needs and makes your daily kitchen tasks smoother and more enjoyable.
Remember, a well-organized kitchen is a happy kitchen. Happy organizing!
2024-07-24
How to Clean Silver Cutlery?
2024-07-24